
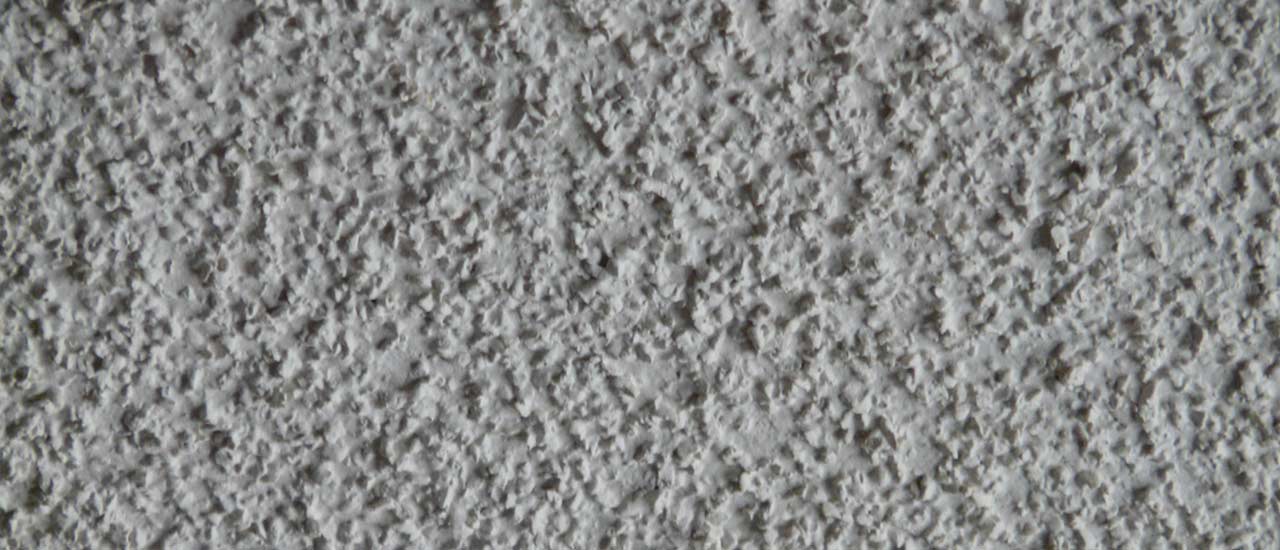
Sometimes called a stucco ceiling, acoustic, or cottage cheese, this was a popular finish in homes built from the 1930s to the 1990s. This is a textured look and was applied with a hopper gun with a special mix or by stippling with a sponge. The textured material, usually Styrofoam or stucco, leaves a bumpy finish that resembles popcorn.
A significant drawback is the amount of work necessary to keep the surface area clean. Cobwebs, spiders, dust and dirt are easily caught in the bumps. Using a brush or the head of your vacuum sweeper can cause that surface to break off leaving you with a strange look, or, worse, part of the ceiling falling off. Then you need to repair any damage including cracks, and holes.
Popcorn ceilings are not re-paintable. They must be scraped and sanded before applying drywall plaster, re-sanding and then painting. It can only be painted with a segmented foam roller. Water damage will cause the stipple to become too heavy and fall usually in chunks. Rooms with high moisture content, like kitchens and baths, are especially susceptible.
Goodbye to Popcorn Ceilings
A perfect way to resolve the problem of popcorn ceilings is to cover them with a stretch ceiling.
- No painting
- No filling cracks
- Quick installation with no mess
- Great in any room
- Available in matte, satin, gloss and translucent finishes
- Prints and backlighting available
- Can accommodate existing lighting, speakers, air vents, etc.
- Over 100 color options
- Fire and water resistant
- Resistant to stains and odors
- Acoustic qualities
If you are dealing with a remodel that includes a popcorn ceiling, stippling and halogen light fixtures, the perfect solution is beautiful stretch ceilings with contemporary and energy efficient LED lights.
In addition to your choice of distinctive designs, advantages include:
- Quick and clean installation – No residual mess. You will not need to move furniture (except for fragile or plastic items). The entire installation is usually completed in one or two days. Since it is installed about an inch lower than your existing ceiling, there is no reason to remove the previous covering.
- Anti-static – This means it will not attract dust.
- Limited fading and degradation – Simply clean it with a microfiber cloth.
- Warranty – 10 year limited warranty
- Improved acoustics
- Accessibility – You can maintain access to all structures including wiring and plumbing because the product can be easily opened and closed.
Popcorn Ceiling Removal
The most common method of popcorn ceiling removal is by scraping. It is a slow, messy process but can easily be accomplished by a single person. Using a 4 inch utility knife or drywall knife, the surface texture is chipped away to create a relatively smooth surface. It is recommended that you skim it with a thin layer of joint compound to smooth out any leftover imperfections. Then it is sanded completely smooth and can be repainted.
Any popcorn finish and paint applied prior to 1979 can contain asbestos and lead. These are toxic substances and can only be removed by a professional skilled in these substances.

Although they may not be at risk, if the ceiling has been painted, the porous popcorn material will have absorbed the paint and be quite difficult to remove. If that is the case, you will need to have the ceiling drywalled. To do this a ceiling-grade gypsum board (which is much lighter in weight than standard wall board) is affixed over the existing popcorn ceiling. It will need to be screwed securely into the framing and then taped and mudded. This is a preferred option since the ceiling will be sealed and it will afford the smoothest finish. It is recommended that only a professional tackle such a job.
A far better alternative is to opt for a stretch ceiling.